Welcome! In this tutorial series we will be learning how to create audio plugins that run as VST, VST3, AU, RTAS, AAX or as a standalone application.
Audio plugins are programs that are loaded into a host software (such as Ableton Live, Logic or REAPER). They process Audio and/or MIDI data and can have a graphical user interface. Here are three examples (U-He Zebra, Sonalksis FreeG and D16 Decimort):
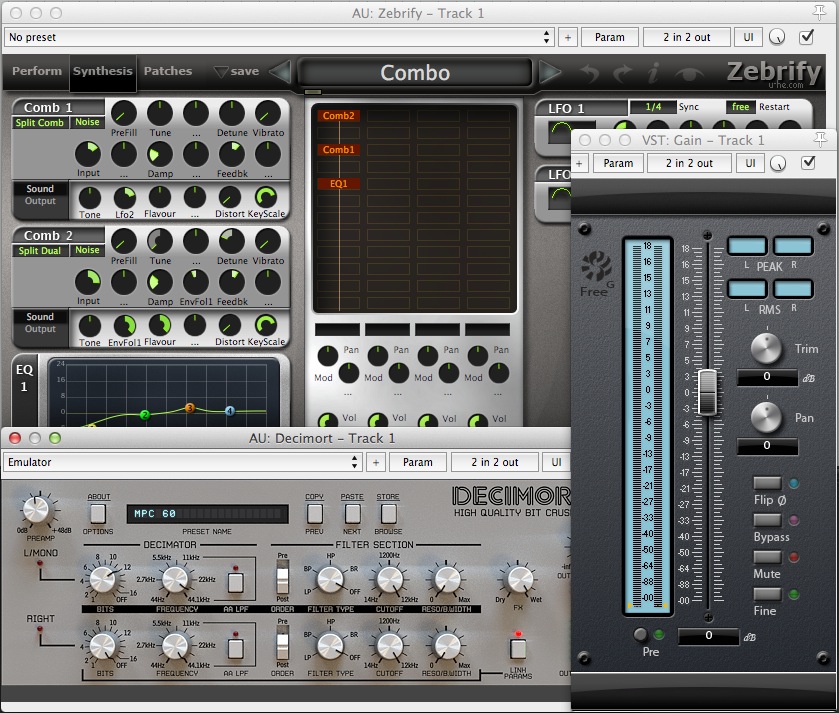
As you can see, the GUI usually contains some controls (the knob being the most common) that change how the plugin processes incoming data. A plugin has presets (in the screenshot they’re called Combo and Emulator) that store all knob positions and other values.
We’ll start with a simple distortion plugin. After that, we’ll create this subtractive synthesizer plugin step by step:
We will use C++ and the WDL-OL library. It is based on Cockos WDL (pronounced whittle). It basically does a lot of work for us, most importantly:
- Ready-made Xcode / Visual Studio Projects
- Create VST, AudioUnit, VST3 and RTAS formats from one codebase: Just choose the plugin format and click run!
- Create 32/64-Bit executables
- Make your plugin run as a standalone Win/Mac application
- Most GUI controls used in audio plugins
It also gives you most GUI controls used in audio plugins, and some commonly used audio algorithms like for example resampling. This forum thread has screenshots of a lot of plugins that were done using WDL.
The different plugin formats all do more or less the same, so normally there would be a lot of copy & paste in your code. As a programmer you want to stay DRY, so sooner or later you’d write an abstraction layer over the different formats. This work has already been done in the form of IPlug, which is a part of WDL. These are the annoying parts of audio plugin development, so we can now focus on the fun stuff, such as:
- How the plugin processes incoming Audio/MIDI
- What the plugin looks like
- How it integrates with the host (automation, presets, etc.)
Another good thing about WDL is its permissive license: You can use it freely for commercial applications. See the links above for details.
How we will do this
In programming, the result is rewarding, but the journey is where we learn. In this tutorial series, I won’t just give you long code listings with the perfect solution. We will start with something that works and improve it as soon as we face problems.The chase is better than the catch.
The disadvantage is that you will write code that you’ll later replace with something better. As a programmer, you’re probably used to that. The first advantage: It won’t be as overwhelming because we will approach the solution step by step instead of just jumping there. The second advantage is that we might learn valueable programming lessons along the way.
This series isn’t about calculating complex math by hand. It’s about creating awesome software that you can give to your music producer friends so they can make a fatter bassline.
What you will need
- A Mac running Xcode 4 or later or a Windows system with Visual C++ 2010 or later. I’ll use a Mac, but you can use almost all information on Windows as well.
- Some understanding of C++ (Syntax, Pointers, Basic OOP, Memory). You may have heard that C++ is very hard, but we’re not going to use too much of the advanced stuff.
- Some knowledge about (digital) audio in general: What amplitude and frequency means, what a filter does, how audio is stored at a sample rate and bit depth. If you’ve recorded or produced music before, you are probably well set.
- Interest for Digital Signal Processing and GUI Programming: Those will be the two main topics of this series. If you have no prior DSP knowledge at all, you may have to read up on a few topics at some point. I’ll try to provide further reading type links whenever that’s the case.
Helpful resources
Here are a few links that may be helpful later:
- Stack Overflow: Search for things like obscure compiler warnings and find out what they mean.
- DSP Guide: Very good free book, covers probably more than we’ll use. Refer to it if somewhere on the way you don’t understand a DSP concept.
Sounds exciting? Next time we’ll set up everything we need to get started!